 Domain SearchSecure your perfect UAE domain in seconds.
 Domain TransferSeamless domain transfer. Zero downtime, complete control.
 All TLDsSecure your ideal domain. Explore local UAE and international extensions.
 WHOIS LOOKUPCheck domain ownership, expiry dates, and registrar details instantly.
 AE DomainRegister a .AE domain and build trust in the UAE.
 SSL CertificatesProtect your site with trusted SSL Certificates to secure data and build customer confidence.
 .com DomainGet the world’s most trusted domain and build credibility from day one.
 Web hostingFind budget-friendly hosting that doesn’t compromise on performance.
 Windows HostingHigh-performance hosting for Windows applications and websites.
 Affiliate ProgramBecome a partner and earn commission for every referral.
 WordPress HostingBlazing-Fast WordPress Hosting, Optimised for Performance.
 Email HostingSecure your communications with professional email hosting. Use your domain, stay in control.
 Reseller HostingLaunch your own hosting brand. We handle the tech, you grow your business.
 cPanel HostingHosting supported by cPanel (simple and user-friendly)
 VPS HostingVirtual servers that grow with you. Full root access. Blazing fast performance.
 Managed VPS HostingNot a tech expert? Let us handle everything with our fully managed VPS hosting.
 Dedicated ServersEnjoy full access and total control over your dedicated physical server.
 AI Website BuilderBuild beautiful websites instantly with AI.
 Online ShopCreate a professional online store. No coding needed.
 Web Design ServicesGet a custom website built for your brand and your goals.
 BlogDiscover resources on web hosting, e-commerce, digital marketing, and beyond.
 Contact UsWe are available 24/7 via chat or email
 SupportExplore guides and answers for all our services
There are nearly 2.6 billion gamers worldwide in 2026.
Private game servers have never been more popular than they are right now.
Whether you want to host 10 friends or 100 strangers, this guide covers the full path.
Most guides tell you what hardware to buy. This one tells you whether you even need hardware at all.
By the end, you will know exactly what to build, what to skip, and how much it costs.
What a Gaming Server Actually Does (And Why It Matters)
Before buying anything, you need to know what you are actually building.
A gaming server is a dedicated computer that manages game logic and player connections in real time.
It acts as a central hub for everyone in the session. Without a dedicated server, players must rely on one person’s PC to host the game.
That setup is called peer-to-peer hosting, commonly written as P2P. P2P works fine for very small groups, but it has serious weaknesses.
If the host has a poor internet connection, every player in the session suffers.
The host’s PC also runs the game and manages player connections at the same time.
That double workload creates lag for everyone, including the host.
A dedicated gaming server solves all of that. It runs separately from your own gaming PC.
As a result, your machine stays free to play the game smoothly. You also gain full control over who joins, what mods are active, and how the rules are set up.
Home Server vs. VPS: The Right Choice for Your Needs
Picking the wrong hosting path is one of the most common mistakes new server builders make.
Fortunately, the decision is simpler than it looks once you know the key factors.
When a Home Server Makes Sense
A home server works well for small friend groups of 5 players or fewer.
It also suits tech enthusiasts who enjoy managing their own hardware from the ground up.
However, home servers come with real trade-offs you need to account for before committing.
Your server goes offline whenever your home loses power or internet.
Most home internet plans have limited upload speeds too. That limited upload speed directly causes lag for players connecting from outside your local network.
On top of that, a home server runs and consumes electricity around the clock.
The noise and the physical space it takes up are also worth factoring into your decision.
Still, for a private LAN session or a weekend game with friends, a home server gets the job done at a low ongoing cost.
When a VPS Is the Better Option
For most people, a Virtual Private Server (VPS) is the smarter starting point.
A VPS runs 24 hours a day, 7 days a week, without any input from you.
So your friends can connect and play even when your own PC is switched off.
For small to medium communities of up to 30 players, a good gaming VPS delivers the right balance of performance and cost.
Dedicated servers, by comparison, typically cost three to five times as much as a comparable VPS plan.
They only make sense once your community grows past 30 to 50 regular daily players.
Step-by-Step: Set Up Your Gaming Server (VPS Path)
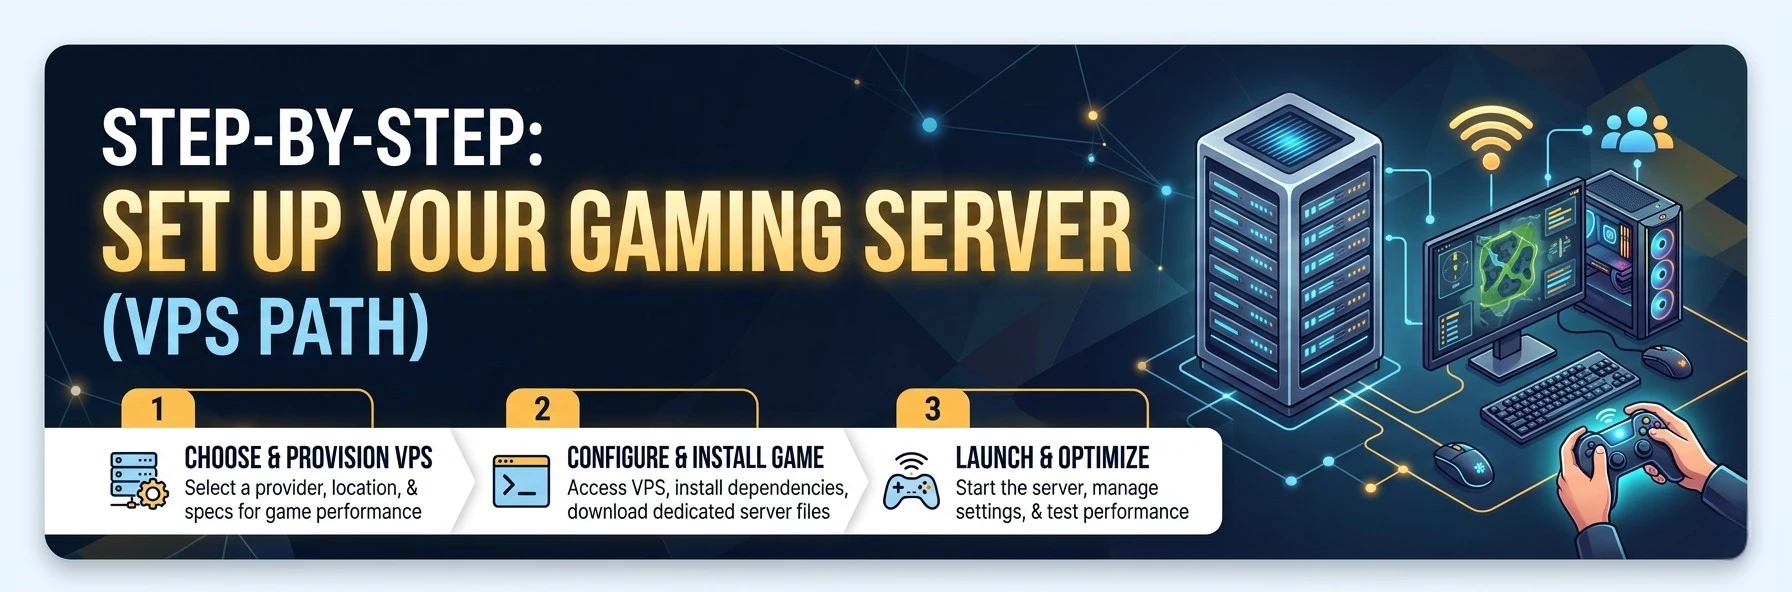
Setting up a game server on a VPS takes roughly 30 to 60 minutes from login to live.
The process is less physical than a home build, but it still requires careful attention at each step.
This section walks you through provider selection, server provisioning, OS setup, game installation, and port configuration.
Step 1: Choose and Order Your VPS

The VPS market has many providers in 2026, and they are not all equal in terms of performance or value.
The right choice depends on where your players are located, your budget, and how much technical support you want available.
When selecting your plan, these are the numbers that matter most:
- RAM: 4 GB minimum for lightweight games; 8 to 16 GB for most titles; 32 GB for Rust and ARK
- CPU: Look for plans showing AMD EPYC or Intel Xeon vCPUs at 3.0 GHz or higher
- Storage: NVMe SSD only; SATA-based VPS plans will cause noticeable lag spikes
- Network: Aim for a 1 Gbps port with at least 3 TB of included monthly transfer
- Location: Choose a data center closest to the majority of your players
Step 2: Connect to Your VPS via SSH
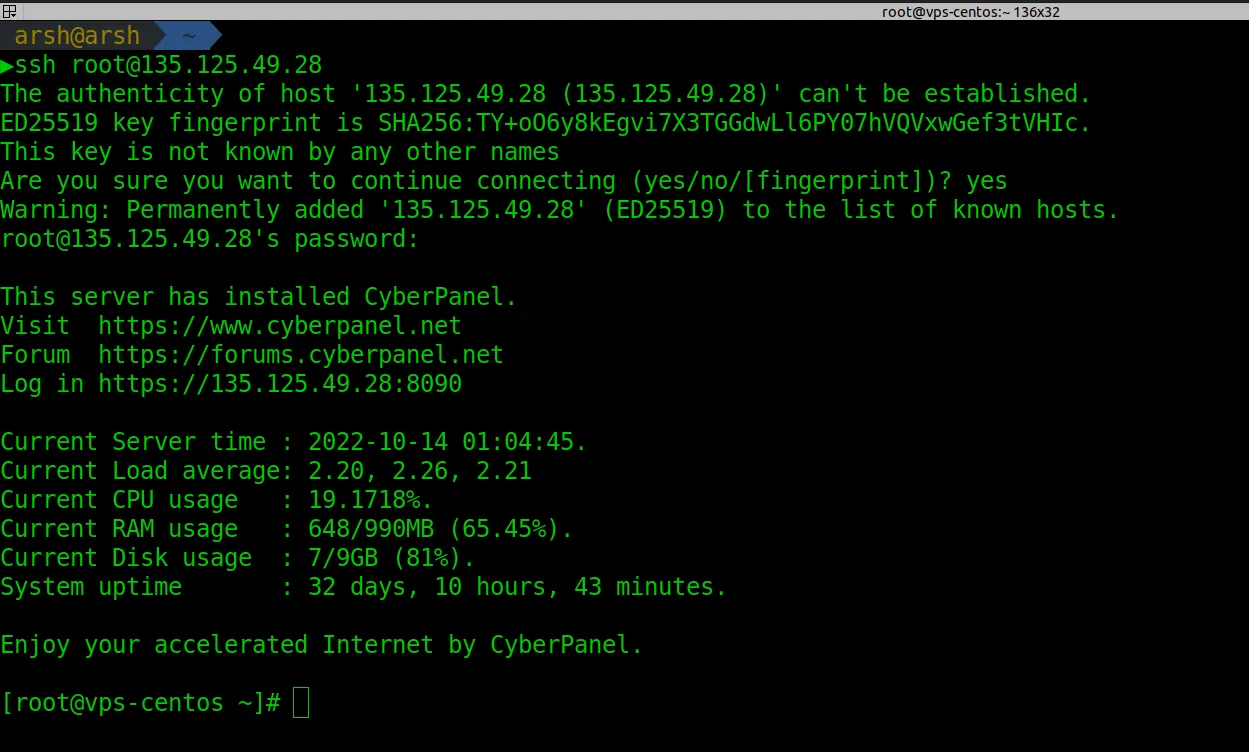
After purchasing your VPS plan, the provider sends you a confirmation email.
That email contains your server’s public IP address, your root username, and instructions for a temporary password or SSH key. Save that information before doing anything else.
On Windows, open PowerShell. On Mac or Linux, open Terminal. Use the command below to connect to your server. Replace the placeholder with your actual VPS IP address:
ssh root@YOUR_VPS_IP_ADDRESSType yes when prompted to accept the server fingerprint. Then enter your temporary password to log in.
Once you are inside, change the default root password immediately with this command:
passwdAfter changing the password, create a separate non-root user for day-to-day management.
Running everything as root is a security risk. Use these commands, replacing ‘gameadmin’ with your preferred username:
adduser gameadmin
usermod -aG sudo gameadmin
su - gameadmin
Step 3: Update the System and Set Up the Firewall
A fresh VPS install is rarely fully up to date. Run the two commands below to update all system packages before installing anything else.
Skipping this step leaves known security vulnerabilities open from day one.
sudo apt update
sudo apt upgrade -y
The upgrade step can take a few minutes, depending on how many packages need updating.
Let it run to completion before moving on. After the update finishes, configure UFW to control which network ports stay open. Run these three commands in order:
sudo ufw allow OpenSSH
sudo ufw allow YOUR_GAME_PORT/tcp
sudo ufw enable
Step 4: Install Game Dependencies
Most games require specific runtime software before the server files will run.
Java-based games like Minecraft require the Java Development Kit.
Source engine games need the common Steam runtime libraries. Install the correct dependency for your game before downloading any server files.
For Steam-based games like CS2, Rust, Valheim, and ARK, install the required 32-bit Steam libraries first.
Then install SteamCMD using these commands:
sudo add-apt-repository multiverse
sudo dpkg --add-architecture i386
sudo apt update
sudo apt install steamcmd -y
Step 5: Install and Launch Your Game Server
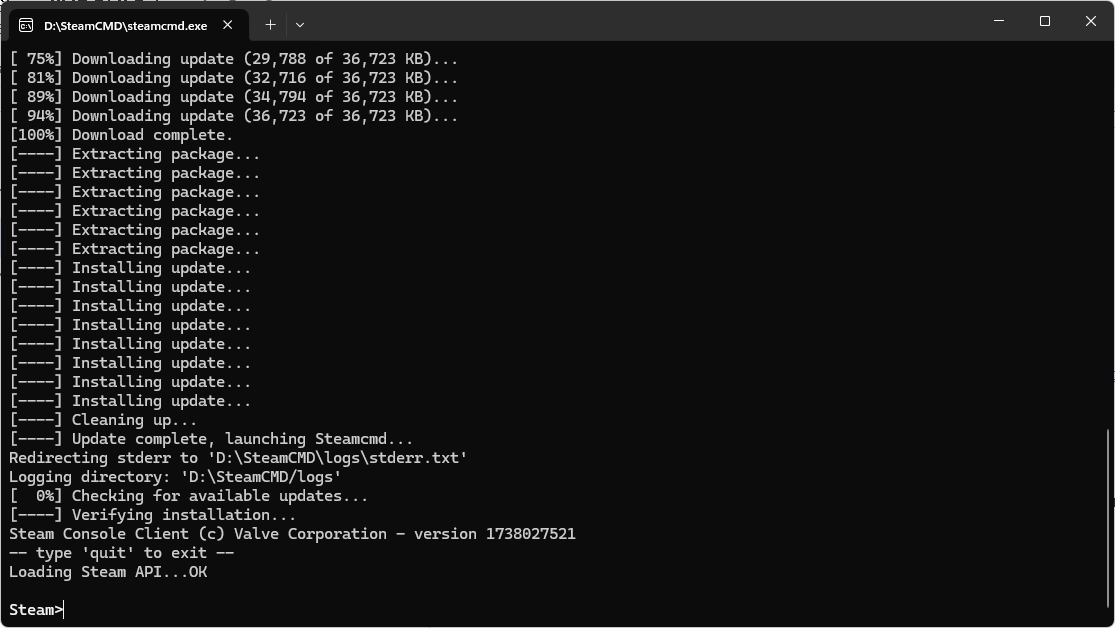
This steep varies depending on which games you want to host on your gaming server.
For SteamCMD games, create a directory for your game server and launch SteamCMD to download the server files.
Replace APPID with the correct Steam App ID for your game:
mkdir ~/gameserver && cd ~/gameserver
steamcmd +login anonymous +force_install_dir ~/gameserver +app_update APPID validate +quit
Step 6: Run the Server as a Background Service
A server launched directly in the terminal shuts down the moment you close your SSH session.
So you need to run it as a background service using either a systemd unit file or a tool like screen or tmux.
The systemd method is the more reliable of the two for long-term hosting.
Create a new systemd service file for your game. After saving the file, you should enable and start the service to make the server start automatically every time the VPS reboots.
Step 7: Verify the Server Is Running
Check your server status at any time using the command below. It shows whether the service is active and displays recent log output:
sudo systemctl status game-server-nameIf the service shows ‘active (running)’ in green, your server is live. Share your VPS public IP address and the correct port number with your players.
They connect by entering that IP and port directly in the game’s multiplayer menu.
For a cleaner experience, point a domain name to your VPS IP using an A record in any DNS provider.
Secure Your Server Before Anyone Joins

Server security is not the exciting part of this process, but skipping it causes real damage. Three attack types hit gaming servers most often.
Distributed Denial of Service, or DDoS, which floods your server with fake traffic until it goes offline.
Brute-force SSH login, where automated scripts try to guess your admin password.
Plugin exploits, which happen when outdated plugins have known security holes that bad actors use.
To block brute-force attacks, disable root SSH login immediately after setup.
Switch to key-based authentication instead of password logins. Open your SSH config with the command below:
sudo nano /etc/ssh/sshd_configFind the line that reads PasswordAuthentication and set it to no. Save the file, then restart SSH with sudo systemctl restart ssh.
For DDoS protection, your VPS provider often includes basic protection in the plan.
If you are on a home server, services like Cloudflare Spectrum provide a meaningful layer of protection.
Keep all plugins and server software updated at least weekly to quickly close known security gaps.
Five free tools to monitor and protect your server
- Fail2Ban: Automatically bans IPs after repeated failed login attempts
- UFW (Uncomplicated Firewall): Manages incoming and outgoing traffic rules
- Netdata: Real-time performance and anomaly monitoring dashboard
- ClamAV: Open-source antivirus scanning for uploaded files and plugins
- Logwatch: Daily digest email of server activity and suspicious events
Optimize Server Performance After Launch
Once your server is live, watching resource usage tells you when problems are building before players notice them.
The htop tool shows CPU and RAM usage in a clear, real-time terminal view.
Netdata gives you a browser-based dashboard with historical usage graphs.
Both tools are free and install in under two minutes on Ubuntu.
Conclusion
Ultimately, having a gaming server is all about control. Control over who joins, what mods run, how the rules work, and how the server performs.
Truehost VPS plans give you full control without the hassle of managing physical hardware. Pick your specs, deploy in minutes, and have your game server live in under an hour.